Five Stitches That Sell the Look: Vintage Alterations for Real Curves
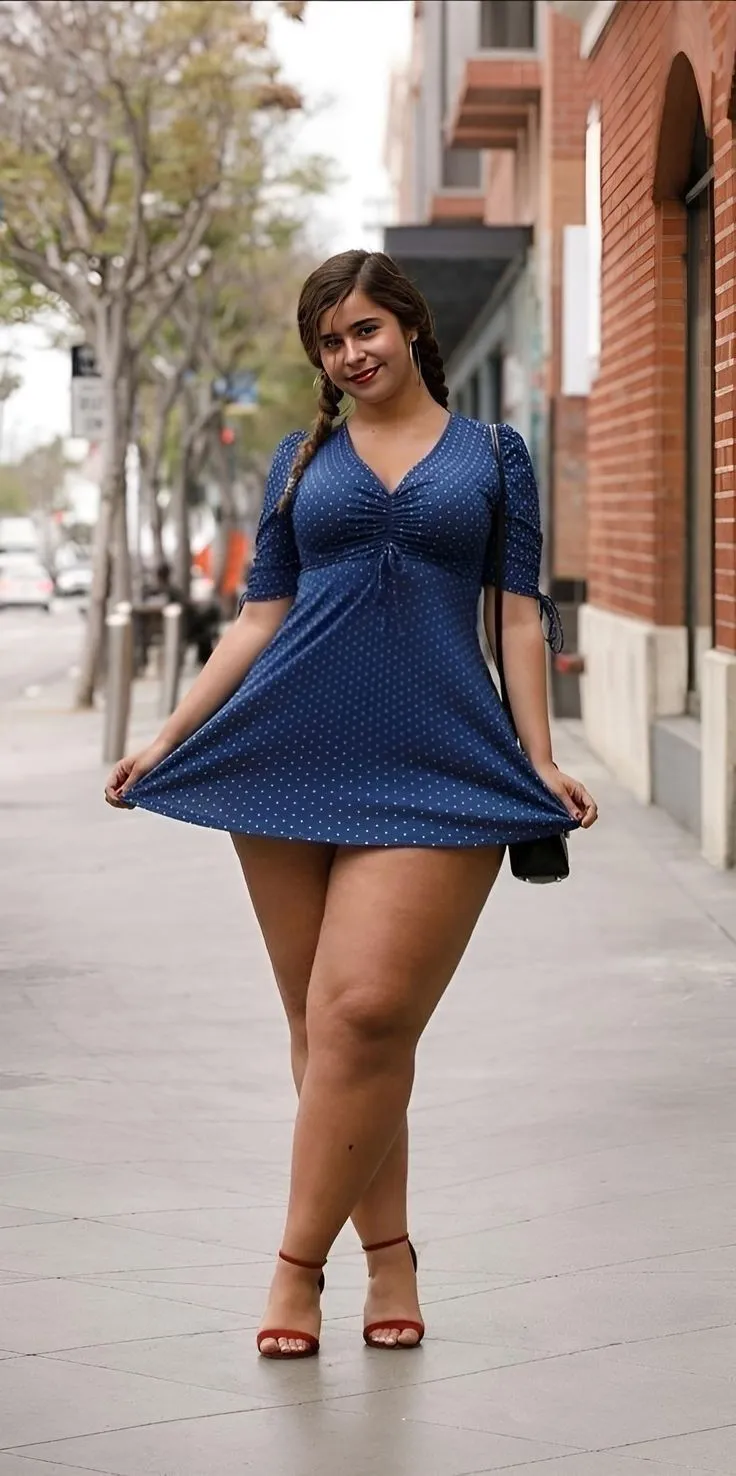
Photo: vintage dress fitting on curvy woman with tailor pins, retro pin-up wardrobe alterations, via www.basvankaam.com
Vintage shopping is a treasure hunt with a catch: the clothes were cut for a different set of bodies, a different set of bras, and a different idea of what a waist should do. That's not a reason to leave the piece on the rack. It's a reason to budget for the tailor.
The difference between a good vintage find and a pin-up look that actually works is usually not a full rebuild. It's a dart, a hem, a strap, or a seam. Here are the five alterations that earn their keep on a curve-first wardrobe — and how to ask for them without needing a fashion degree.
Why Vintage Fits Are a Starting Point
A 1950s dress might have a 26-inch waist and a 38-inch bust. A 1970s blouse might have armholes cut for a narrow shoulder. A 1980s slip might be long enough for a taller model but not shaped for a hip. None of that means the garment is 'not for you.' It means the factory made a guess, and now you get to correct it.
The goal isn't to squeeze into the original size. It's to make the garment behave like it was drafted for your body. That's a different job — and usually a cheaper one than buying new.
The Five Alterations
1. Take in the waist with darts, not a belt
A belt can fake a waist, but it can also create bulk. Darts are cleaner. Two vertical darts in the back, or a pair of front darts, can turn a boxy dress into something that follows your shape without pulling across the bust. Ask for 'waist suppression at the side seams and back darts' and bring the shoes you'll shoot in — heel height changes the drape.
2. Shorten the hem to your leg line
Vintage lengths were not designed for your legs. A hem that hits mid-calf can make a great pair of legs look like an afterthought. Ask the tailor to pin the hem while you stand in the shoes you'll wear. Then walk, sit, and do one exaggerated pin-up pose. A hem that looks right standing still can ride up or pull when you move. The right length is the one that stays where it should in the shot.
3. Move or reinforce the straps
Straps are where vintage pieces fail fastest. They're often too short, too wide-set, or attached with a single thread. Ask for the straps to be moved inward if they slip, widened if they dig, or backed with a strip of grosgrain ribbon if they're fragile. If the piece is strapless, ask for a hidden stay or a slightly tighter inner band. This is a small fix that changes how the whole bodice sits.
4. Open the armhole — carefully
Tight armholes are a common vintage problem, especially on dresses and blouses cut for narrow shoulders. You don't always need a full sleeve removal. Sometimes the tailor can drop the armhole by a half inch or reshape the curve so your arm has room to move. Be specific: 'I need room to raise my arm for a pose, but I don't want the bust to shift.' Bring a photo of the pose. Tailors are visual people.
5. Add a hidden panel or gusset
This is the alteration that saves pieces you thought were hopeless. A hidden side panel in matching or complementary fabric can add an inch or two at the bust or hip without changing the front line. A gusset under the arm can turn a tight sleeve into something wearable. It's not a plus-size hack; it's a construction fix. Ask for the panel to be placed at the side seam, not the center front, so the original design stays intact.
How to Brief a Tailor Without a Speech
You don't need to explain your whole body. You need to explain the garment's job. Use three sentences:
- 'This is for a photo shoot, so I need to be able to move my arms and sit without the seams pulling.'
- 'I want the waist to follow my shape, not cinch it.'
- 'Please pin it on me while I'm wearing the bra and shoes I'll shoot in.'
Then show one reference photo of the silhouette you want. A tailor who works with bridal or theater clients will understand 'photo shoot' immediately. If they don't, find another tailor. You want someone who pins on the body, not just on a dress form.
The Before-and-After Photo That Tells the Story
If you're documenting the alteration for social or a blog, shoot the before and after in the same light, same shoes, same pose. The story isn't 'I fixed this dress.' The story is 'look at what the waist does now.' Shoot a straight-on frame and a three-quarter frame. In the after, add one movement shot — a hand on the hip, a slight turn — so people can see the garment move with you.
Don't over-edit the before photo to make the after look better. The whole point is that the fit changed, not the filter.
What to Skip
Skip any alteration that changes the garment's original line so much that it no longer reads vintage. Skip cheap fusible tape on a piece you love. Skip a tailor who won't let you move in the pinned garment. And skip the idea that you have to be a standard size to wear vintage. You don't. You just have to be willing to let a needle finish the sentence.
The Bottom Line
A vintage piece with five smart alterations will outshoot a new piece that fits 'okay.' Budget for the tailor the same way you budget for the shoes. The difference is visible in every frame — and it's usually the difference between a costume and a look.