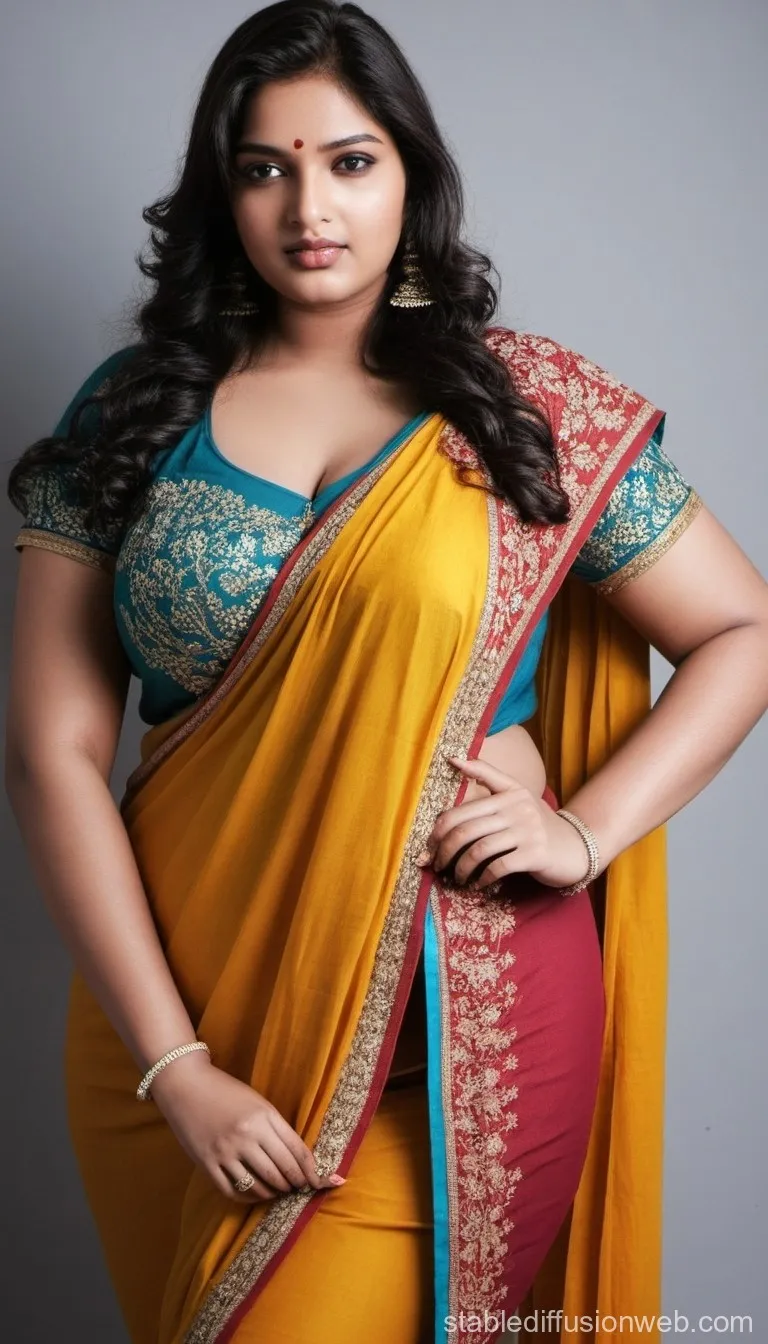
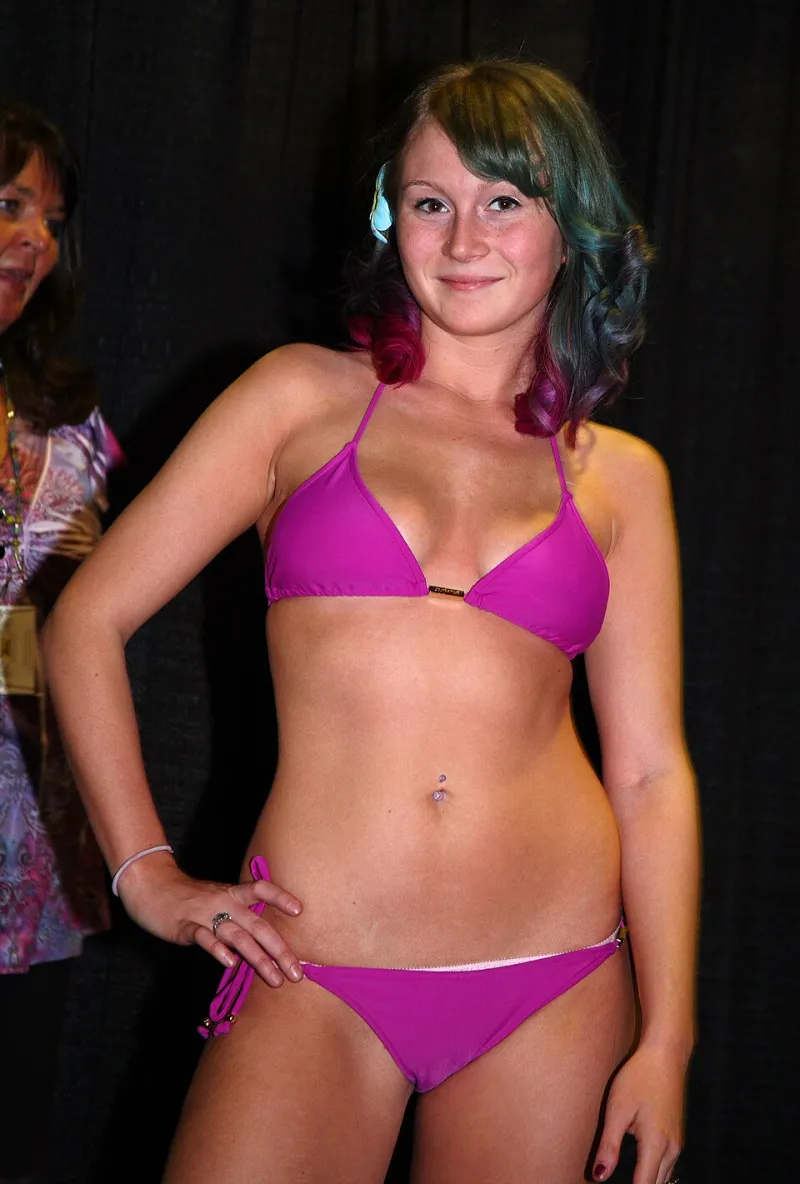
Your Coloring, Your Cue: A Pin-Up Makeup Palette Built Around the Skin You’re In
There’s a reason the classic pin-up face has lasted this long: strong lips, soft cheeks, clean liner, and a little theatricality. But the version that gets passed around online often looks like one face copied onto every body. Porcelain skin, jet-black liner, true-red lip, done. That’s not a palette. That’s a costume.
At PB Gals, the glamour works best when it feels like the model walked into the room, not like she stepped out of a stencil. Your coloring — skin tone, undertone, hair color, eye color, even how you tan or flush — should call the shots. The retro references are there to guide you, not overrule you.
Start With Undertone, Not the Trend
Surface tone is how light or deep your skin is. Undertone is the temperature underneath: warm, cool, or neutral. Lots of people sit somewhere in between, and olive undertones can read green or gray depending on the light. Jewelry tests and vein checks are fine as parlor tricks, but the real test is how makeup behaves on your face. If a foundation turns peach-orange by noon, it’s probably too warm. If it goes ashy or pink-gray, it’s probably too cool.
For photos, undertone matters even more. Studio strobes and phone flashes can amplify warmth or wash out cool tones. Before you commit to a lipstick or blush for a shoot, swatch it on your jaw and check it in daylight, then again in the kind of light you’ll actually be photographed in. A shade that looks soft in the bathroom mirror can turn loud under a softbox.
Blush Is About Placement as Much as Color
Pin-up blush gets a bad reputation because it’s often applied like two cherries parked on the apples of the cheeks. Cute in illustration, less flattering on a real, moving face. The better approach is to let your bone structure and face shape guide placement.
- Round or soft faces: Sweep blush upward and slightly outward from the apple toward the temple. This lifts the face and keeps the color from pooling in the center.
- Longer faces: Place color across the apples and blend horizontally to add width. Keep it soft at the edges.
- Angular faces: A soft circular placement on the apples can soften the angles. Blend well so it doesn’t look like a stripe.
- Deep skin tones: Berry, plum, and brick blushes can look stunning, but build them in thin layers. Pigment that goes on too strong is harder to sheer out than to build up.
For warm undertones, peach, coral, and warm rose are natural picks. Cool undertones tend to glow with true pink, mauve, and cool berry. Neutral undertones can usually borrow from both sides. A cream blush pressed in with fingers or a damp sponge tends to look like skin; a powder blush on top sets it and keeps shine controlled.
Pick a Lead Singer for Lips and Eyes
Classic pin-up makeup works best when one feature takes the microphone. A bold red lip with a simple eye is still one of the most reliable combinations in glamour photography. A softer lip with a defined liner and fuller eye can feel just as retro, especially for daytime or outdoor sets.
Red is not one color. A blue-red tends to flatter cool undertones and make teeth look bright. An orange-red or tomato red warms up golden undertones. Brick, rust, and oxblood reds can be gorgeous on olive and deep skin tones. Corals are the easy summer choice, while berries and plums feel more evening and more dramatic without going full goth.
Finish matters too. Satin lipsticks photograph well because they have a little dimension without looking wet. Flat mattes can read dry under flash if the rest of the face is matte as well. High gloss catches light and can be fun, but it also catches every stray hair and can pull focus from the eyes. If you go glossy, keep the eye clean and the blush soft.
For eyes, skip the idea that black liner is mandatory. Brown, espresso, plum, and charcoal can be softer and still define the lash line. Warm bronze and copper make brown and hazel eyes glow. Peach and soft copper flatter blue eyes. Mauve and eggplant can make green eyes look vivid. A small wing is classic; a smudged liner is more modern. Both work.
Make the Finish Photo-Friendly
A pin-up shoot is not the time to test a brand-new primer, a heavy SPF, or a setting spray you’ve never worn for six hours. Flash photography can turn certain sunscreens and silica powders into a ghostly white cast. Test your base products in photos before the shoot, ideally with the same camera or phone you’ll use for behind-the-scenes shots.
Set the T-zone and leave the high points of the cheeks with a little life. Translucent powder is your friend, but don’t bake the entire face unless you want a flat, matte finish in every frame. Blotting papers are cheap, effective, and easier to carry than a whole powder compact. If you want highlight, keep it on the tops of the cheekbones and the bridge of the nose, not all over the center of the face.
A Simple Palette-Building Checklist
Before a PB Gals-style feature, lay your products out and ask these questions:
- Does my base match my neck and chest in daylight? If not, adjust before the shoot.
- Do I have one blush that looks like a flush, not a stain? Cream or powder both work; the color should look natural when blended.
- Do I have a lip color that works with my undertone? Bring two: one brighter, one softer.
- Is my eye palette built around my eye color and skin tone? A bronze, a mauve, a soft brown, and a cream highlight can cover a lot of ground.
- Will my finish survive flash? Check for white cast, excessive shine, and powder settling into lines.
- Does the palette work with the wardrobe? A cool berry lip and a warm coral dress can fight each other. Let the outfit and backdrop inform the makeup, not the other way around.
The Palette Should Feel Like You
The best pin-up makeup isn’t the most historically accurate. It’s the version that makes you look like yourself with the volume turned up. That might mean a coral-red lip instead of a blue-red, a softer blush placement, or a brown wing instead of black. None of that breaks the retro mood. It just makes the mood yours.
In 2026, glamour is less about copying a template and more about knowing your own coloring well enough to make the template work for you. Build the palette around your skin, your curves, and the light you’ll be standing in. Then go have fun with it.